I was recently exposed to the underworld of boot sector games, thanks to great book Programming Boot Sector Games by Oscar Toledo, aka nanochess. They are tiny little games, up to 512 bytes of machine code, that run on the bootsector of a disk, the space reserved for the bootloaders to initialize the operating system.
Visit for more information 2048world
You may think that 512 bytes are not enough to write a game, and it’s not a bad assumption, however there are people taking the challange seriously. The 8-bit Guy has a nice introductory video about the subject, and although he doesn’t look very excited with the games, he says at the end something I completely agree: “people who write these games, they have more fun making them than actually playing”. Oscar Toledo wrote Space Invaders, Chess, Flappy Bird and Pac Man and they’re very impressive in my opinion.
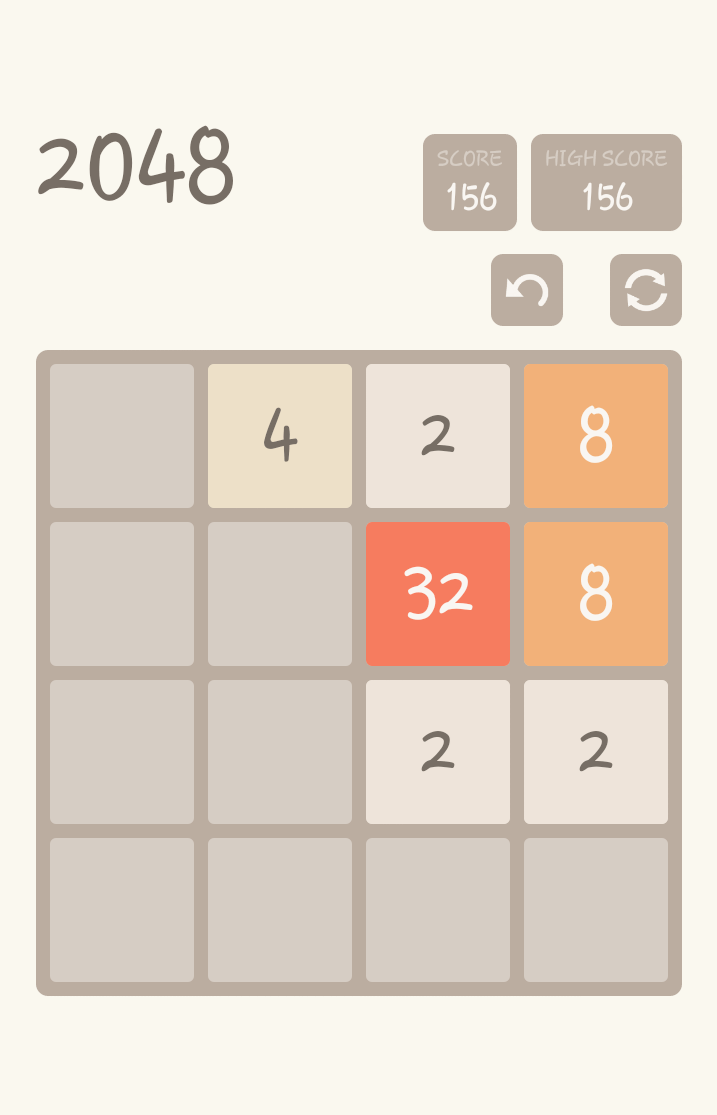
I confess my initial motivation to get the book was to learn some assembly and enjoy a different challange. The introduction is pretty good and the examples very well explained. So after a third of the book, I decided to write my own game: a 2048 clone.
I’ll describe here a little about the development of this project, but first you can play it live, using a x86 javascript emulator or watch the video I made:
There’s two things to consider when writing a bootsector program: it needs to be written in 16bit real mode 8086/8088 assembly language and fit 512 bytes. There’s no libraries, just plain cpu instructions on registers and access to the BIOS services through interrupts.
I took the approach of writing it as a real mode dos program, but without the size concern at first, then later try to optimize it–and even cut features if necessary–and making it a bootsector game.
I started with a basic text mode program, since the 2048 is basically a text (number really) game:
This will generate a
game.com
file, a DOS executable. If you run that on DOSBox you’ll notice that it doesn’t do much, basically just sets the text mode, acquires the pointer to the video memory and then exits.
The BIOS supports a few graphics modes. We’re using the 80-25 text mode, which means it supports 80 columns and 25 lines of characters. So the video memory from
0xB800
to
0xC7A0
will store two bytes for each character, one for formatting and one for the ASCII code. In order to put a character in the screen, all we need to do is copy the character data into the right position in memory. Example, this two bytes
0x2761
means character
'a'
(0x61), green background (0x20) and gray foreground (0x07). More info on the colors can be found here.
First we need to set the text mode calling the interrupt service
0x10
, passing
AH=00
(set video mode function) and
AL=02
(the mode 02). Here you can find more functions of service 0x10, and here more information on video modes. Right after that we acquire the pointer to the video data and store it onto the Extended Segment register:
ES
.
Segment registers are the two least significant bytes when addressing the memory, so whenever you access memory you need a segment and an offset, example:
After that, we’re good to display some text on screen. Or display some simple graphics, like this function that displays a color filled box:
In order to invoke that function, we need to push the arguments to the stack and then call it, like this:
The most interesting line in this function probaly is:
rep stosw
.
rep
instruction will decrement CX and repeat the next instruction while CX > 0, it does pretty much the same thing as the instruction
loop
, except it executes a instruction instead of jumping to a label.
stosw
, however, will copy the value of
AX
into
[ES:DI]
and will increment the pointer in
DI
. So before that, we basically copy the char data to
AX
, add the offset to that position in
DI
, and set the amount of chars to
CX
, then
rep stosw
will do all the work for us.
In order to print a text to screen, we need to store that somewhere, and it’s usually done in the end of the program using the
db
or
dw
directives. They will tell the assembler that whatever data comes after will be stored as bytes or words, respectivelly. Example:
Strings are array of bytes, since every char is as ascii code that goes from 0 to 255. We’re telling the assembler to store the string
r e t r o 2 0 4 8
, followed by a zero, in the position
title_string
in the end of the program. Ending the string with zero is important so we know when to stop printing, it’s exactly what line
cmp al, 0
of our
print_string
function is doing.
Not exactly a game, but we have something on screen!
In order to make that program run in the bootsector, first we need to change the entry address of the program. The
org
directive we put in the start of the program now changes from value
0x0100
to
0x7c00
.
Then we need to force the final binary to be exactly 512 bytes, even if the code was less than that. Followed by the bootable signature in the end of the file:
There’s no difference to assemble that for bootsector, only that we might want to name with a different extension than
com
, usually
bin
, because that won’t be a DOS executable anymore, and if you try to run that, it will crash.
While we were testing the DOS version on DOSBox, now we need a proper i386 emulator to boot the game. I’m going for qemu because it’s very simple to test. Once you have that installed, you can invoke a virtual machine by typing in:
Alright, now you’ll ask how to test that on an actual computer. And that’s the whole point of it, for sure. There’s good news and bad news regarding that. The bad news is that Intel discontinued the support for legacy boot as of 2020. Good news is that you probably have a computer that still supports that. In that case, you’ll need a USB stick–or a floppy disk, if you prefer.
For USB sticks, you can burn the image on the bootsector using Rufus, if you’re on Windows, or
dd
on a linux/unix platform. Just make sure to replace
/dev/disk1
with the actual USB device you want to burn to:
Then change your prefered boot device on your BIOS, stick it in and reboot.
I really liked this project because I remember how much fun it was implementing algorithms in assembly. All the logic for the 2048 game seem so simple to write in an imperative language, but when it comes to bring it down to instructions, it’s a completely different way of thinking that I am not used to.
Considering the movement and evaluation. Whenever you hit one of the arrow keys, up for example, you have to move all blocks from the 4 columns to an upper position and if there are two blocks of the same value, you merge them. I used a “simple” array to represent the board, where
0
is empty block:
The movement and evaluation happens by “line”, but what’s the concept of line? It’s an address of the initial block and an offset to the next block in that line. Check function
compute_board_line
at the full source code for the implementation. We also need an offset between one line to the next line. The description of each movement is basically:
In order: (1) the offset, (2) the address of the board, (3) the offset between lines.
That way, checking the input and calling for each behaviour is quite simple:
And the function
compute_movement
will basically create a loop for the four lines and call
compute_board_line
passing the correct parameters.
That made me think in a way that I probably wouldn’t if I were writing Javascript, for example.
Of course having to write the complete game with such a limitation is a hell of a challenge, since 512 bytes can come quicker than you think. I had to constantly make decisions such as keep the score, the game title and randomization for the new block out. Many of the algorithms were implemented a few times in order to make it fit to the final version of the game. And that’s why I keep a DOS version of it, because it’s clearly more interesting and fun.
It was a lot of fun working on this project, and I was only about one third of the book when I started and since then didn’t read any more of it. I have more ideas for little experiments and I’ll definitely spend more time exploring it. It’s the sort of retro studies that I like doing, even though it might not sound very useful at first.