A leaky shower head can be both annoying and wasteful. The good news? You don’t need to call a plumber or spend a lot of money to fix it. In most cases, that constant drip is caused by a worn-out shower head washer — and replacing it takes less than five minutes!
In this quick DIY guide, we’ll walk you through how to replace a shower head washer, the tools you’ll need, and a few simple maintenance tips to keep your shower running smoothly.
What You’ll Need
Before you start, gather these basic tools and supplies:
-
Adjustable wrench or pliers
-
Soft cloth or towel
-
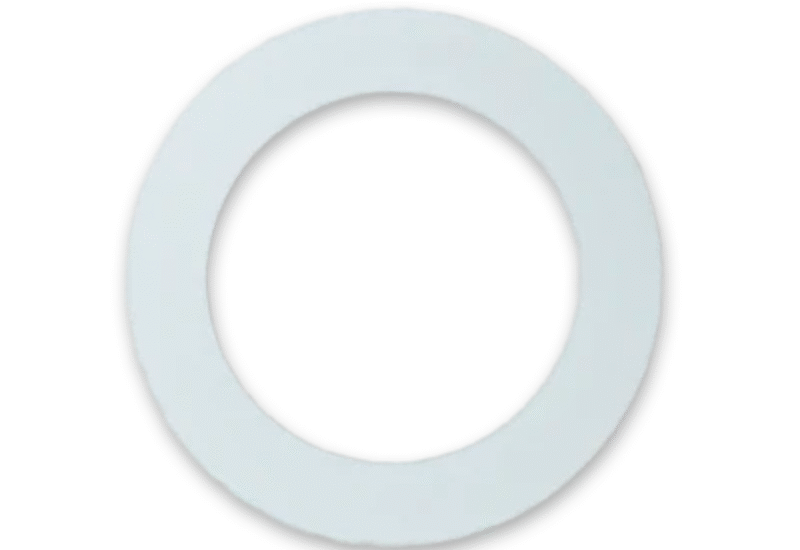
Replacement shower head washer (rubber or silicone)
-
Teflon tape (optional)
Pro tip: Always check your shower head’s brand and model — some may use specific washer sizes or materials.
Step-by-Step Guide: How to Replace a Shower Head Washer
Step 1: Turn Off the Water
Even though you’re working on the shower head and not the main valve, it’s best to make sure no water pressure is running. Turn off the shower tap and ensure the pipes are empty.
Step 2: Remove the Shower Head
Wrap a soft cloth around the shower head connection to prevent scratches, then use a wrench or pliers to gently unscrew it from the shower arm. If it’s stuck, try using a bit of force, but be careful not to damage the fixture.
Step 3: Locate and Remove the Old Washer
Once you’ve removed the shower head, look inside the threaded end — you’ll see a small, flat rubber ring. That’s your shower head washer. Use a small screwdriver or your fingers to pry it out.
Inspect it for cracks, flattening, or hardening — all signs that it’s time for a replacement.
Step 4: Insert the New Washer
Take your new washer and gently press it into place where the old one was. It should sit snugly inside the groove at the base of the connector. Make sure it’s even and properly aligned to prevent leaks.
Step 5: Reattach the Shower Head
Wrap the shower arm threads with Teflon tape (optional but helps prevent leaks), then screw the shower head back on. Hand-tighten it first, then use the wrench for a final quarter turn — don’t overtighten.
Step 6: Test for Leaks
Turn the water back on and check for drips around the joint. If you still notice a small leak, try tightening the connection slightly more or re-seating the washer.
Bonus Tips for Longer Washer Life
-
Clean your shower head regularly to prevent mineral buildup.
-
Use high-quality silicone washers — they tend to last longer than rubber ones.
-
Check washers every 6–12 months if you live in an area with hard water.
When to Replace Your Shower Head Washer
You should replace your shower head washer whenever you notice:
-
A steady drip or leak even after tightening the head
-
Low water pressure caused by internal blockage
-
Cracked or flattened washers during inspection
Replacing a washer is cheap, fast, and keeps your shower performing like new.
Final Thoughts
Replacing a shower head washer is one of the easiest plumbing repairs you can do yourself. In just a few minutes, you can stop leaks, improve water flow, and even save money on your water bill — all without calling a professional.
So grab your wrench, pick up a new washer, and enjoy a drip-free shower today!